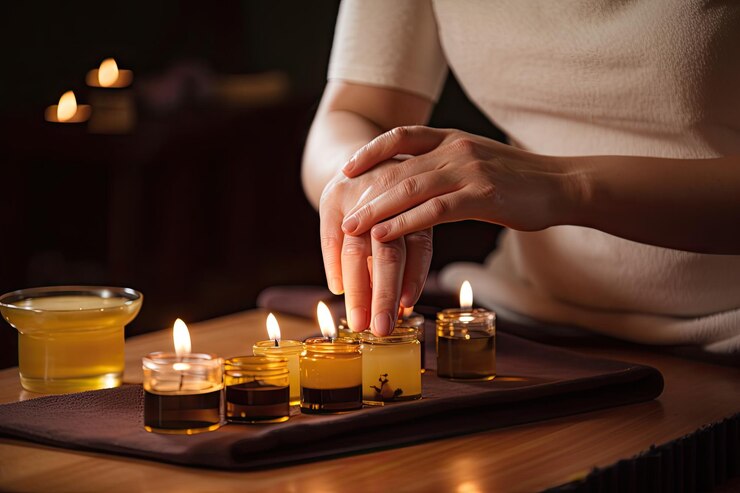
For millennia, the art of creating candles has enthralled people’s senses. Any place may become a cosy refuge with the flickering flame, warm glow, and wonderful scents. While candles are easily available in stores, there’s something deeply satisfying about creating your own. In this article, we will look at the art of candle making and delve into the steps required to master this craft.
The Allure Of Candle Making
Candle making is more than just a hobby; it’s a form of self-expression and a sensory experience like no other. It allows you to tailor candles to your preferences, from choosing the wax and wick to selecting scents and colours. Whether you want to create a calming ambience, set the mood for a romantic dinner, or simply enjoy the process of crafting, candle making offers endless possibilities.
Essential Supplies
Before diving into the process of making candles, you’ll need to gather some essential supplies. Here’s a basic list to get you started:
1. Wax:
The type of wax you choose greatly influences your candle’s appearance and performance. Popular options include paraffin wax, soy wax, beeswax, and palm wax. Each has its unique characteristics, so experimenting with different types can be part of the fun.
2. Wick:
Wicks are available in a range of sizes and compositions, including hemp, wood, and cotton. The choice of wick size depends on the diameter of the candle you’re making. The wick is what sustains the flame, so it’s a critical component.
3. Fragrance Oils:
Fragrance oils are essential if you want fragrant candles. They smell a variety of things, like fruity, spicy, and floral. Be sure to choose high-quality fragrance oils for the best results.
4. Dyes Or Pigments:
To add colour to your candles, you can use liquid dyes, dye chips, or powdered pigments. These allow you to create candles in various shades and even experiment with layers of different colours.
5. Melting Pot:
A dedicated melting pot is essential for safely melting and pouring the wax. Although a microwave-safe container or a double boiler setup works, a real melting pot is safer and more convenient.
6. Thermometer:
By using a thermometer, you can keep an eye on the temperature of the wax and prevent it from cooling down too soon or overheating, which can lower the quality of your candles.
The Candle Making Process
Having gathered your materials, let’s begin the procedure of creating candles:
1. Prepare Your Workspace:
Set up a clean, organized workspace with all your supplies within reach. To catch spillage, cover the surface with newspaper or a disposable tablecloth.
2. Measure And Melt The Wax:
Use your chosen wax and measure the appropriate amount based on the size and quantity of candles you want to make. Place the wax in your melting pot and heat it slowly, stirring occasionally. Be sure to follow safety precautions, as hot wax can be dangerous.
3. Add Fragrance And Color:
Remove the wax from the heat source and allow it to cool down once it has melted fully. Then, add your chosen fragrance oil and colourant. The amount you add depends on your preferences, but start with a small amount and adjust as needed.
4. Secure The Wick:
While the wax cools, prepare your candle container by securing the wick in the centre using a wick holder or adhesive. Make sure the wick is straight and taut.
5. Pour The Wax:
Carefully pour the scented and coloured wax into your prepared container, ensuring the wick remains centred. Leave a small gap at the top to avoid overflowing.
6. Let It Set:
Allow the candle to cool and set for several hours or overnight, depending on the type of wax used. Avoid moving the candle during this time to prevent cracks or uneven surfaces.
7. Trim The Wick:
After the candle is completely set, use wick trimmers or scissors to cut the wick to the appropriate length, which is often approximately 1/4 inch above the wax’s surface.
Candle Making Tips
- Experiment with different wax types to discover your favourite for specific candle styles.
- Keep safety in mind at all times, especially when working with hot wax.
- Take your time and let your candles cool and solidify completely.
- Record your recipes for scents and colours to replicate your favourite creations.
- Don’t be afraid to get creative with moulds, containers, and candle shapes.

Curtain Dry Cleaning and Leather Sofa Cleaning – Reliable Care by Duo Nini

Brian Ferdinand of EverForward Trading Joins Forbes Finance Council, Expanding His Voice on Markets and Risk

Get Any Company Objectives or News of rox.com

Our First Winter Trip to Aspen — And the Decision That Made It Stress-Free

What to Expect During Your First NDIS Support Visit

What to Expect During Your First NDIS Support Visit

Solve SMD Diodes Sourcing with Utsource's Bulk Options

555 Meaning: Spiritual, Biblical, Love & Prophetic Significance Explained


