

Fast Pixels, Zero Drama: Wi-Fi Design for Creative Studios and Imaging Workflows

When your business lives and dies by how quickly you can capture, review and deliver images, “pretty good” Wi-Fi won’t cut it. Creative teams working in photography, video, CGI and print have very different demands from a typical office network: huge files arriving in bursts, live previews to multiple screens, colour-critical reviews in glass-heavy spaces, and a growing fleet of Macs, iPads, display bars and wireless cameras all competing for clean airtime. In London’s multi-tenant buildings—full of concrete cores, metalwork and neighbour SSIDs—the difference between a consumer-style setup and an engineered WLAN is measured in missed deadlines and frayed tempers.
This guide distils an engineer’s approach to studio-grade Wi-Fi. It’s vendor-neutral, grounded in physics, and designed to remove drama from your imaging pipeline.
Why imaging studios break “normal” Wi-Fi
Bursty, heavyweight traffic. Tethered capture and camera offloads drive multi-gigabyte bursts. Asset managers (Lightroom, Capture One, Photo Mechanic, Bridge) create spikes when culling or building previews. Collaboration tools add concurrent screen shares and reference streams.
Airtime is precious. One misconfigured channel or a single client clinging to a weak signal can steal airtime from the whole room. In dense studios, that’s the ballgame.
Glass, metal, and motion. Glass partitions, metal lighting rigs and moving bodies create reflections (multipath) that can show “good signal” while wrecking throughput.
Multicast minefield. AirPlay, Bonjour/mDNS, NDI/NDI|HX and discovery protocols behave poorly on crowded SSIDs without proper controls (snooping, proxying, rate-limits).
Define success like an engineer (measurable targets)
Write these into your build brief and your sign-off tests:
- Coverage: ≥ -67 dBm at the seating/shooting plane across work zones; -65 dBm where live preview/voice happens.
- SNR: ≥ 25 dB during busy hours (lights on, people in).
- Capacity: Design for concurrent devices (1.5–2× seats to include phones/tablets/reference displays).
- Latency/jitter: Under active collaboration, target <50 ms latency and <30 ms jitter for steady previews and calls.
- Roaming: Sub-150 ms hand-off between cells for untethered shooting and walk-through reviews.
- Security: WPA3-Enterprise/802.1X for corporate kit; separate, rate-limited guest and AV/IoT networks.
If a supplier can’t show how they’ll meet these numbers, you’re buying guesswork.
RF design for studios (coverage is table stakes; capacity wins)
- Plan for where people actually work. Prioritise bays, grading suites, client lounges and retouching banks over corridors. Use scaled plans with real materials (foil-backed plasterboard, glass, metal rigs).
- Channel widths with intent. In busy, multi-tenant floors, stick to 20/40 MHz at 5 GHz to maximise non-overlapping channels. Save 80 MHz for sparse, high-throughput rooms after proof.
- 6 GHz where it pays. If your estate supports 6E/7, reserve 6 GHz for premium rooms (live grading, director review) to reclaim clean airtime without breaking 5 GHz for everyone else.
- Minimum data rates. Raise minimums (e.g., 12–24 Mbps) to stop clients clinging to weak cells at legacy rates that waste airtime.
- Roaming aids (test first). 802.11k/v to help discovery; 802.11r only if your devices behave with it—test your camera transmitters, Macs and conferencing bars before enabling network-wide.
Your Wi-Fi stands on your cabling
Studio Wi-Fi performance collapses if the wired layer is starved.
- Horizontal cabling: Use Cat6A on new AP runs for multi-gig and PoE++ headroom.
- Switching: Multi-gig access where APs justify it; 20–30% PoE headroom per switch to avoid radio throttling.
- Backbone: Fibre between cabinets; avoid long copper uplinks across risers.
- Cabinet hygiene: Right-length patching, labelled ports, clear airflow; many “Wi-Fi issues” are actually PoE or switching faults.
In London, the cleanest studio networks are built on disciplined cabling first. If you’re planning a refresh or a new floor, a tidy, standards-based backbone is step one—see Data cabling London for what a robust, studio-friendly structured cabling foundation looks like in practice.
Workflow-aware SSIDs (less is more)
Create as few SSIDs as possible—each extra SSID burns airtime.
- Studio (802.1X): For Macs/PCs running capture, DAM, grading and retouching. Full access to NAS/SAN as policy dictates.
- AV/Devices: For display bars, reference screens, wireless transmitters. Consider per-device PSKs bound to an AV VLAN with least-privilege rules to NAS shares.
- Guest: Isolated, bandwidth-capped, and scheduled if necessary (e.g., off during colour-critical sessions).
Keep discovery traffic sane: enable mDNS/Bonjour proxy and IGMP snooping so AirPlay and NDI are visible where they should be—nowhere else.
Tethered capture without tantrums
- Prefer wired tethering for studio cameras whenever feasible; keep Wi-Fi for monitoring and control apps.
- If wireless is essential, give cameras/transmitters a clean 5/6 GHz lane and ban them from 2.4 GHz legacy rates.
- Co-channel interference control: Cap TX power and shape cells to the working area; shouting louder harms everyone.
- QoS that actually works: Map DSCP/WMM end-to-end so preview streams aren’t treated like background syncs.
Storage and sync: don’t let file moves hijack the air
Asset syncs, proxy transcodes and preview generation can quietly eat airtime.
- Stage heavy syncs off-peak or to wired-only VLANs; throttle background jobs during sessions.
- Split tiers: Retouchers and ingest stations wired at 10G; general review over Wi-Fi with predictable QoS.
- NAS placement: Shorten the radio path to the storage that matters; put the big iron close to the people moving big files.
Validation: prove it works before you roll it out
Pilot one premium room and one open studio zone with the final AP models, channel plan and minimum rates. Test with your tools:
- Live capture offload: Shoot tethered, burst to NAS, build previews, then open in your editor while streaming a call.
- Multi-client screen share: Two or three concurrent screen shares while a fourth client ingests files.
- Walk-through review: Keep a call running while you roam between bays and the client lounge.
Record throughput distributions, median/p95 latency/jitter, and roaming hand-off times. Tune; then replicate.
Security without creative friction
- WPA3-Enterprise/802.1X for studio devices; certificates via MDM make onboarding painless.
- Per-device PSK for AV/IoT gear that can’t do 802.1X—each PSK maps to the AV VLAN with least-privilege rules.
- Guest isolation with bandwidth caps and automatic expiry. If clients must cast to a screen, use room-by-room vouchers bound to that zone only.
Common pitfalls in creative spaces (and how to dodge them)
- 80 MHz everywhere. Great in a lab, poor in a London studio with neighbours. Start at 20/40 MHz; widen only with evidence.
- Too many SSIDs. “One for every team” burns airtime. Keep it lean.
- Letting multicast run wild. Without snooping/proxying, discovery storms clobber airtime. Tame mDNS/Bonjour and NDI.
- 4 GHz dependence. Reserve it for genuine legacy kit; prioritise 5/6 GHz for production work.
- Ignoring the wired layer. Under-spec PoE and messy cabinets masquerade as “Wi-Fi problems”.
- Skipping post-install proof. If you don’t measure, you can’t prove—or improve—performance.
A two-week stabilisation sprint for studios
Days 1–2 — Inventory & plan
List APs/firmware, switches/PoE headroom, SSIDs, channels and minimum rates. Map where people actually create and review.
Days 3–4 — Channel & SSID hygiene
Cut SSIDs to three or fewer. Set 5 GHz to 20/40 MHz, raise minimum rates, cap TX power to reduce bloated cells.
Days 5–6 — Wired first
Confirm Cat6A runs to APs, check PoE headroom, clean cabinets, verify DHCP/DNS responsiveness.
Days 7–8 — Pilot room & zone
Deploy final AP models; run live capture, preview and call loads. Enable mDNS proxy and IGMP snooping for controlled discovery.
Days 9–10 — QoS & security
Map DSCP/WMM end-to-end; enforce 802.1X for studio kit; deploy per-device PSKs for AV gear.
Days 11–12 — Validate
Heatmaps at seating/shooting plane, active throughput distributions, p95 latency/jitter, roaming walk-tests.
Days 13–14 — Document & roll
Lock the template, document VLAN/ACL/QoS, and roll floor-by-floor in small waves with back-out plans.
The takeaway
Studio-grade Wi-Fi isn’t about chasing lab speeds—it’s about predictable airtime, disciplined cabling, and workflow-aware configuration. When you design for capacity, tame multicast, prioritise 5/6 GHz, and validate with real creative tasks, your pipeline feels wired even when it isn’t. Do the boring things well, prove the results with numbers, and your team will stop thinking about the network—because it simply works while they create.
The Hidden Half of AI Image Creation – Editing, Iteration, and Control
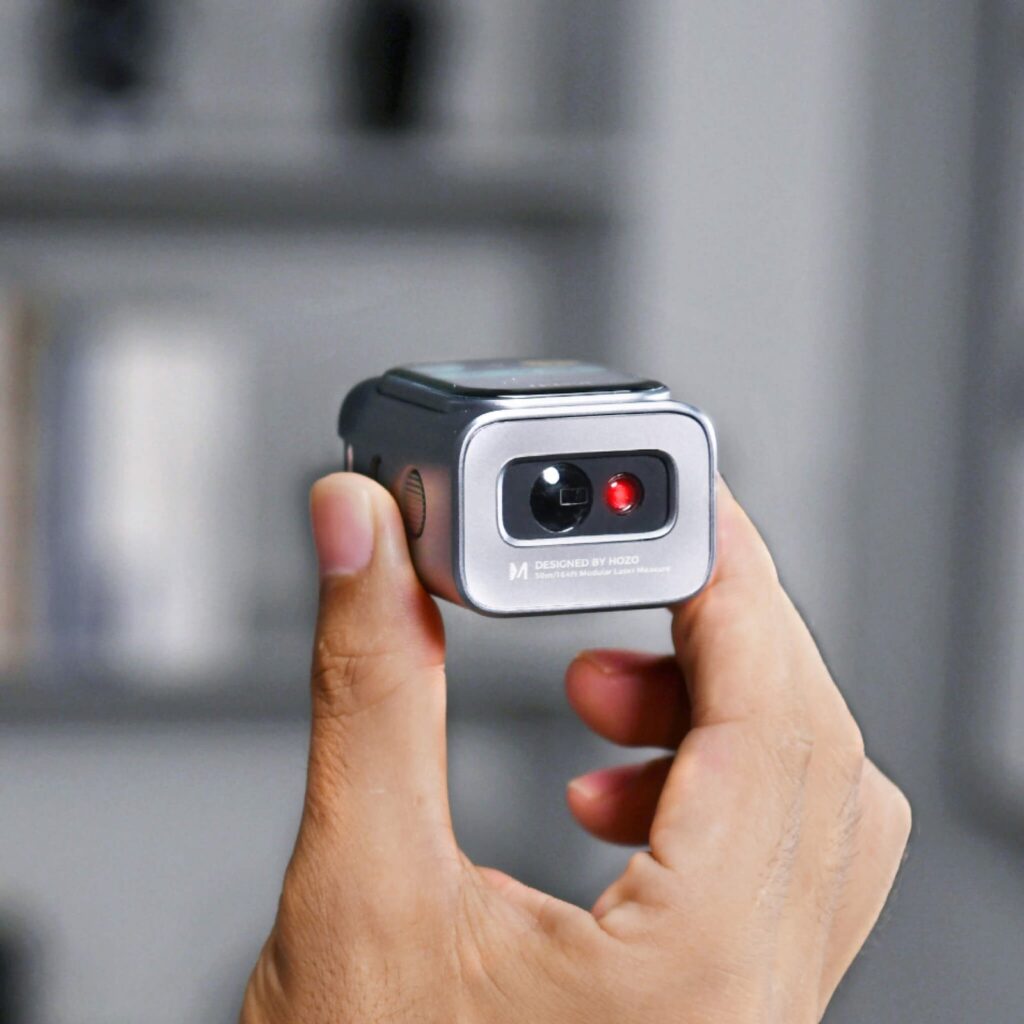
Traditional Tools vs. HOZO Design Laser Measuring Devices

How to Recover WhatsApp Data from iPhone
