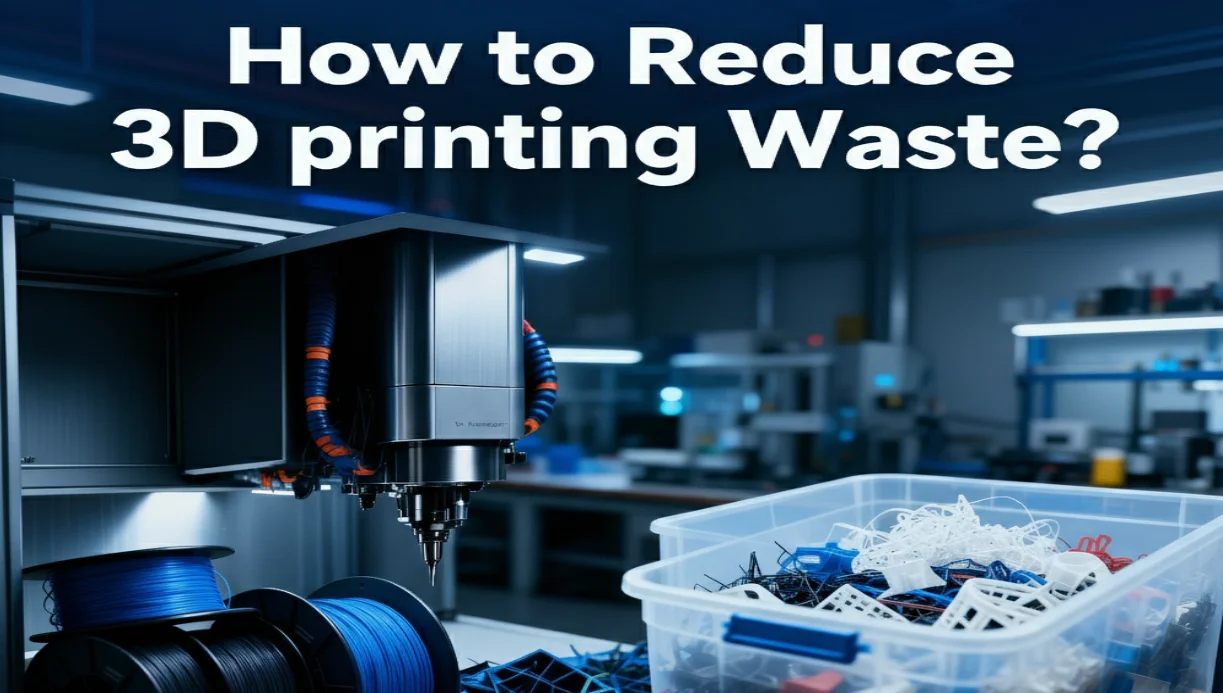
3D printing is powerful, but it comes with a hidden cost—wasted material. Failed prints, heavy supports, and leftover resin or powder don’t just drain your filament spool; they drain time, money, and energy. For many makers, the pile of scraps grows faster than the pile of finished parts.
The solution isn’t buying more material—it’s learning how to stop waste before it starts. With smarter design choices, better orientation, slicer tweaks, and safe recycling habits, you can cut waste dramatically while keeping strength and surface quality intact.
This guide shows you how to turn wasteful prints into efficient, reliable builds—so your 3D printer runs lean, clean, and cost-effective. Let’s get started.
What Types Of 3D Printing Waste Matter Most?
Most waste comes from failed parts, excess support structures, purge/wipe material, trapped resin or powder, and harsh post‑processing. Target these first for the biggest and fastest gains.
Common FDM Waste Sources
FDM waste often shows up as rafts, brims, stringing, and failed prints from weak bed adhesion, steep overhangs, or thin walls. Start with a clean bed and a reliable first layer. Keep edges from curling with steady cooling and the right speed. Where a model forces wide bridges, split the part so each section prints flatter and needs fewer supports. Swap default rafts for brims unless you truly need the extra lift. If the job is cosmetic, lower infill and add one perimeter to keep skins from sagging. These small fixes cut grams and time while protecting surface finish.
Resin And Powder Losses
In resin work, waste builds during drainage, washing, and over‑supporting fine features. Angle parts to drain, add vent holes, and place touch‑points on hidden faces. Filter and store resin to reduce throw‑away batches. For powder (SLS/MJF/SAF), most unused powder is reclaimable; sieve consistently and follow a safe refresh ratio to maintain properties. Avoid sealed cavities that trap powder—add escape holes and plan nesting. These habits improve yield and lower cost on every build.
How Can You Cut Support Material Dramatically?
Design and print orientation changes beat slicer tweaks for slashing supports. Then apply smarter supports only where needed, and make them easy to remove.
Self-Supporting Geometry
Overhangs past ~45° often need supports. Keep faces under that angle when you can. Change circular underside holes to teardrops, add chamfers to cut steep edges, and split models so tricky spots print flat. Place supports away from show surfaces and plan light sanding where they’ll be hidden. These edits remove entire trees of support and reduce cleanup time.
Smarter Support Strategies
Use tree supports on organic shapes to reduce contact points. Add dense support interfaces for clean separation, and tune Z‑gaps so supports don’t fuse. Consider dissolvable supports for internal features you can’t reach. Always check removal paths; add windows if needed. Less contact and smarter interfaces cut grams and leave better surfaces.
When Should You Change Print Orientation?
Re‑orient whenever supports dominate, a hero surface faces supports, or bridging and strength suffer. A smart turn can halve support volume and improve surfaces.
Orientation for Less Supports
Rotate the part so the largest stable face sits on the bed. Keep the key faces upward to avoid scars. For parts with holes in several axes, favor an angle that clears supports on critical holes first. If tall, thin geometry wobbles, lay it down or split it. This simple step reduces time and material without special settings.
Balance Strength, Finish, and Drainage
Orientation isn’t only about supports. Layer direction sets strength; align loads with filament paths when possible. Curved faces look cleaner when they face upward. For resin and powder, tilt parts to aid drainage; add vent and escape holes for trapped liquid or powder. Avoid huge flat areas parallel to vats or recoaters; a slight tilt reduces peel forces and defects that cause reprints.
Which Slicer Tweaks Save The Most Filament?
Dial variable infill, adaptive layer height, and shell counts to trim grams safely. Change one setting at a time and verify with a quick test.
Infill and Walls for Less Waste
Match infill to the job: gyroid or cubic for even support on visual parts; higher density only where load demands it. Lower infill, but add one perimeter when you need stiffness near holes or bosses. Use modifiers for local density instead of raising infill everywhere. On purely cosmetic parts, lightning‑style infill saves big; on functional parts, keep enough density and perimeters to prevent collapse. A small coupon confirms you’re still meeting strength and feel.
Layer Height and Thin Features
Use adaptive layer height so you keep detail only where you need it. Slightly thicker layers on straight walls save time and grams, while finer layers preserve curves and logos. Balance shells with infill. Too few shells make weak skins that crack and force reprints. For thin pins or narrow slots, test a small section first; adjust flow or wall strategy before printing the full job.
Low‑Waste Slicing Moves And Expected Savings
| Tweak | Typical Setting | Safer Low‑Waste Setting | Expected Savings | Risk Notes |
| Infill density | 20% grid | 10–12% gyroid/cubic | 10–20% material | Not for high‑load parts. |
| Perimeters | 3 shells | 2 shells + local modifiers | 5–10% material | Watch hole strength. |
| Layer height | Fixed 0.20 mm | Adaptive 0.12–0.24 mm | 5–15% time | Check overhang quality. |
| Supports | Everywhere grid | Trees + interfaces | 20–40% support | Inspect contact scars. |
| Brim/Raft | Raft by default | Brim only if needed | 5–10% material | Ensure first‑layer grip. |
Design Choices to Cut Material Use
Lightweighting and smart splits remove volume while keeping function. Use topology optimization and lattices for structures where it matters.
Topology and Lattice Designs
Use design for additive manufacturing to remove non‑working mass while meeting stress limits. Start with clear load cases, then apply topology or lattice features so material sits only where it carries load. Validate with a simple test; if a lattice saves weight but fails at a joint, add ribs or increase strut size just where needed. This targeted change keeps parts light and printable without risky global thinning.
Splitting Parts to Avoid Supports
If supports cover half the model, split the part. Print each section oriented for minimal supports, then join with tabs, screws, or adhesives. Hide seams on non‑show faces. This prevents sprawling scaffolds, reduces post‑processing, and often yields a cleaner finish with less sanding—and a smaller trash pile.
How Do You Reuse Or Recycle Failed Prints?
Sort by polymer, regrind, dry, and feed a filament extruder if you have one. If not, route scraps to community programs and buy recycled filament when it fits the job.
Drop-Offs and Recycled Filament
Collect failed PLA, PETG, and ABS separately. Shred into small pieces and dry well—especially PLA—to prevent bubbles. With a desktop extruder, tune temperature, speed, and diameter. Spool and store with desiccant. Start with small prints to confirm flow and strength. This loop helps you reclaim value from scraps while learning how settings affect reliability.
Drop-Offs and Recycled Filament
If you can’t re‑extrude, look for local recycling or makerspaces that accept sorted scraps. Many suppliers offer recycled filament that performs well for cosmetic parts and jigs. Mark your parts with material codes so future sorting is easy. These habits reduce landfill load and support a healthier materials market.
Read Also: Modern Industrial Production Trends
Resin and Powder Recovery
Use careful resin recovery and powder recycling. Drain well, filter, and mix back into fresh material at safe ratios, and keep everything labeled and clean.
Resin Drainage and Solvent Reuse
Angle parts to drain, add internal holes, and keep support touch‑points small on show faces. After printing, filter the strained resin and store it dark and dry place. Refresh or distill the wash solvent under proper safety rules to cut hazardous waste. Careful handling prevents under‑cured zones and contamination that would force a reprint.
Powder Sieving and Refresh Ratios
For SLS/MJF/SAF, sieve unused powder and blend reclaimed with virgin powder at a material‑recommended refresh ratio. This keeps the mechanical properties stable. Avoid sealed cavities that trap powder; add escape holes and plan nesting to boost yield. Safe handling and consistent refresh reduce both cost and waste over time.
Materials and Spools That Reduce Waste
Pick durable materials that prevent reprints, or choose recycled filament for visual parts. Spool‑less refills and reusable spools shrink packaging waste.
Choosing the Right Filament
Match the polymer to heat, impact, and chemical needs. Printing twice with the wrong plastic wastes more than buying the right spool once. Keep moisture‑sensitive materials dry and labeled. When unsure, print a small section to verify strength and finish before a long job. This check saves hours and grams.
Spool-less Refills and Marking
Refill systems ship filament coils without spools; you snap them onto a reusable core. This reduces shipping weight and plastic waste. Add recycling marks to prints so future sorting is easy. Small process choices compound into big reductions over months of printing.
Preventing Waste From Print Failures
Simulate when you can, run small trials, and watch early layers. These habits avoid long, wasted jobs.
Test Coupons and Section Prints
Before a 20‑hour build, slice a small section—a hole boss, a snap fit, or a textured face—and print it fast. Verify tolerances and finish. If you change infill, shells, or temperature, re‑test the coupon. These quick trials take minutes and can save a spool’s worth of material.
First Layers and HeatChecks
Most failures start in the first hour. Confirm bed level, first‑layer squish, and adhesion methods. Watch cooling on bridges and overhangs; if edges lift, tweak speed or temperature, or add a brim. Keep short notes on what worked. A shop playbook prevents repeat mistakes and the waste they bring.
Creating a Low-Waste Printing Routine
Build a circular routine: standard settings, labeled bins, and clear routes for reuse and recycling. Keep the loop simple so it happens every time.
Labels, Profiles, and Simple Routines
Label bins for PLA, PETG, ABS, resin supports, and powder spill. Standardize slicer profiles for cosmetic vs functional prints. Add a short “evidence pack” for each job—filament lot, nozzle, temps, and notes. This traceability speeds fixes and cuts scrap on the next run.
Measure and Improve Regularly
Track grams used vs grams in parts, and note failure causes. Monthly or quarterly, review which settings and materials caused reprints. Update profiles and design rules so the next cycle is cleaner. Over time, this steady loop lowers cost and waste.
Where Can You Get Help Reducing Waste?
If you want a quick expert review, a manufacturing partner can check geometry, print orientation, and process to trim waste without risking quality. You can also get parts made with tuned settings and material advice through custom 3D printing services when you’re scaling up.
Design-for-AM Reviews
An engineer checks overhangs, wall thickness, lattice candidates, and escape paths for resin or powder. They propose small orientation and feature changes that remove supports and improve reliability—often cutting hours and grams on every build.
Scaling With Printing Services
As volumes grow, a partner standardizes your profiles, refresh ratios, and inspection rules so multiple machines or vendors produce consistent, low‑waste results. You get repeatable quality with less scrap.
Final Thoughts
Waste falls fast when you attack the big sources first: heavy supports, poor orientation, and fragile designs. A few slicer changes—like variable infill and adaptive layer height—trim grams safely, while small test prints and good logging prevent long failed jobs. Add simple loops for powder recycling and resin recovery, and you’ll keep more material in use and less in the bin. If you want a second set of eyes or need tuned builds, Xmake can help with design‑for‑AM reviews and reliable production. That’s how to reduce 3D printing Waste and keep progress steady, print after print.
FAQ
Does the 45° overhang rule always remove supports?
It’s a guideline, not a law. Run a small test to confirm your machine and material can handle a given angle without sag.
Is recycled filament good enough for functional parts?
For non‑critical fixtures and cosmetic prints, often yes. For high‑load parts, test a small section before a full build.
Can I reuse resin wash solvent safely?
Yes. Filter and, if allowed, distill under proper safety steps. Follow local rules for handling and disposal.
How do refresh ratios work for powder?
You blend reclaimed powder with a set percentage of virgin powder to maintain properties. Follow your material’s spec.

How Federal Assistance Programs Now Support More Than Their Original Purpose

How Email Widgets Can Support Time-Sensitive Email Marketing

Deepseekplay com: A Comprehensive Guide to Features and Benefits