There’s something deeply satisfying about a keyboard that feels like it was made just for you. Every keystroke lands exactly as you expect, the sound complements your workflow, and the resistance matches your fingertips perfectly. For mechanical keyboard enthusiasts, this level of personalization isn’t a luxury—it’s the entire point. Yet achieving that ideal setup often begins with one critical decision: choosing the right switch.
Kailh switches have earned a dedicated following for their variety, quality, and modding potential, but navigating the full lineup can feel overwhelming. Which switch type suits your typing style? Can you tweak what’s already close to perfect? This article delivers a comprehensive Kailh switches comparison while guiding you through hands-on modifications like spring swaps that transform key feel and sound preference. You’ll find structured sections covering switch categories, customization techniques, sound profiling, and step-by-step practical solutions—everything you need to build a mechanical keyboard setup that’s unmistakably yours.
Understanding Kailh Switches: A Detailed Comparison
Kailh, manufactured by Kaihua Electronics, has grown from a Cherry MX clone producer into a genuine innovator in the mechanical keyboard space. Their Box switch design introduced IP56 dust and moisture resistance, while their speed switches pushed actuation points to new extremes. For anyone conducting a Kailh switches comparison, the brand’s range spans nearly every preference imaginable—from featherlight linears to heavy tactiles that demand deliberate keypresses. This breadth makes Kailh a cornerstone of any serious mechanical keyboard setup, whether you’re building a gaming board or a daily typing workhorse.
Switch selection fundamentally shapes your keyboard experience. Actuation force determines how much effort each keypress requires, travel distance affects how far your fingers move, and the switch mechanism dictates whether you feel a bump, hear a click, or glide smoothly to the bottom. Durability also varies across the lineup, with Box switches rated for higher lifespans thanks to their enclosed contact leaf design. Understanding these variables is the first step toward a keyboard that truly fits.
Key Switch Categories and Their Characteristics
Linear switches deliver an uninterrupted downstroke with no tactile bump or audible click. Kailh Box Reds exemplify this category with a light, consistent feel ideal for rapid keypresses in gaming. Speed Silvers take it further by shortening the actuation point, registering inputs earlier in the keystroke for competitive advantage. Tactile switches introduce a noticeable bump partway through the press, giving your fingers confirmation that a keystroke registered without needing to bottom out. Kailh Box Browns offer a gentle bump, while Box Royals provide a sharper, more pronounced tactile event preferred by typists who want decisive feedback. Clicky switches combine that tactile bump with an audible click mechanism. Box Jades use a thick click bar that produces a crisp, loud snap—satisfying for users who enjoy auditory cues but potentially disruptive in shared spaces. Box Whites offer a lighter click for those who want the sound without as much force. Each category serves a distinct purpose, and choosing between them depends on whether you prioritize speed, feedback, or acoustic satisfaction in your daily use.
The Art of Spring Swaps in Mechanical Keyboard Setup
Every mechanical keyboard setup carries a hidden variable that most users never think to adjust: the spring inside each switch. This small coiled wire determines how heavy or light each keypress feels, and swapping it out is one of the most impactful modifications available to enthusiasts. Spring swaps allow you to keep everything you love about a particular switch—its housing material, stem shape, and tactile profile—while completely transforming the force curve beneath your fingers. A Box Royal with its sharp tactile bump might feel too heavy for extended typing sessions, but replacing the stock spring with a lighter alternative preserves that satisfying feedback while reducing fatigue over hours of use.
Performing spring swaps requires minimal investment in tools. You’ll need a switch opener (either a flat tool for MX-style tops or a specialized opener for Kailh Box housings), a pair of tweezers for handling small springs, a clean workspace to prevent losing components, and your replacement springs in the desired weight. Many enthusiasts also keep a small container or magnetic tray nearby to organize parts during the process. The beauty of this modification is its reversibility—if a new spring weight doesn’t suit you, the original can go right back in.
Why Spring Swaps Matter for Customization
Spring weight directly influences typing fatigue and keystroke speed in ways that compound over thousands of daily presses. A spring that’s too heavy forces your fingers to work harder than necessary, leading to tension in your hands and forearms during long sessions. Conversely, a spring that’s too light can cause accidental actuations and a floating, imprecise sensation that undermines confidence in each press. Finding the right balance is deeply personal—it depends on your finger strength, typing technique, and whether you tend to bottom out or float above the actuation point. Learning spring swap techniques gives you control over this variable without purchasing entirely new switch sets, making it one of the most cost-effective paths to a refined mechanical keyboard setup.
Achieving the Perfect Key Feel
Key feel is the sum of multiple interacting variables, and no single modification controls it entirely. The switch type establishes a baseline—linear, tactile, or clicky—but spring tension, lubrication, housing material, and even keycap weight layer on top of that foundation to create the final sensation under your fingertips. Kailh switches offer an excellent starting point because their Box housing design reduces stem wobble, contributing to a tighter, more controlled feel compared to traditional MX-style housings. However, even the best stock switch rarely delivers perfection without some fine-tuning. Optimizing key feel means treating each variable as an adjustable dial rather than a fixed characteristic, and Kailh’s modular design makes this approach particularly accessible.
Techniques to Modify Key Feel
Lubrication is arguably the most transformative single modification for key feel. Applying a thin layer of Krytox 205g0 or Tribosys 3204 to the stem rails and spring eliminates scratchiness and smooths out the entire keystroke without removing tactility if applied carefully. For Kailh Box switches, focus on the stem’s contact points rather than flooding the housing, since the enclosed design can trap excess lube. Keycap material and profile also influence perceived feel—thicker PBT keycaps add mass that deepens the keystroke sensation and reduces high-pitched resonance on bottom-out. Combining a spring swap with lubrication creates a compound effect: a lighter spring paired with smooth lube produces a buttery, effortless glide, while a heavier spring with minimal lube maintains a crisp, deliberate resistance. Experimenting with films—thin sheets placed between housing halves—tightens tolerances further and reduces any remaining wobble. The practical approach is to change one variable at a time, type for a day, then decide whether to adjust further or revert.
Sound Preference in Typing: A Personal Journey
Sound is one of the most emotionally charged aspects of a mechanical keyboard setup, yet it’s often treated as an afterthought. The acoustic profile of your keyboard affects concentration, satisfaction, and even your relationship with coworkers or housemates. Some typists crave the rhythmic clatter of a clicky switch—it provides a cadence that makes writing feel productive and alive. Others need near-silence to maintain focus during deep work or late-night sessions. Your sound preference isn’t trivial; it shapes whether you reach for your keyboard eagerly or tolerate it reluctantly.
Kailh’s lineup spans the full acoustic spectrum. Box Jades and Box Navies produce bold, sharp clicks that fill a room, making them ideal for dedicated home offices where sound isn’t a concern. Box Whites deliver a softer click that satisfies without overwhelming. On the quieter end, Kailh’s silent switches use internal dampening to muffle both the downstroke and upstroke, producing little more than a muted thud. Standard Box Reds and Blacks fall somewhere in the middle—no click mechanism, but the natural sound of plastic bottoming out still registers in quiet environments. Choosing your ideal sound level depends on context: where you type, who’s nearby, and whether sound energizes or distracts you during work.
Methods to Modify Sound Levels
If your switches are close to ideal but not quite right acoustically, several modifications can shift the sound profile without replacing the switches entirely. Adding o-rings to keycap stems cushions the bottom-out impact, reducing the sharp clack to a softer, dampened tap. This works particularly well on linear switches where you want silence without sacrificing smoothness. Sound-dampening foam placed inside the keyboard case absorbs resonance and eliminates the hollow ping that plagues many aluminum or plastic housings. Desk mats beneath the keyboard further isolate vibration from hard surfaces. Switch housing material also plays a role—Kailh’s nylon-topped Box switches tend to produce a deeper, quieter tone compared to polycarbonate tops that emphasize higher frequencies. For those who want maximum control, combining a silent linear switch with case foam and o-rings creates an almost inaudible typing experience suited to shared workspaces or recording environments. Test each modification independently to identify which change addresses the specific frequency or volume that bothers you most.
Practical Guide: Solutions for Customization Needs
Knowledge without application leaves your keyboard unchanged. This section bridges the gap between understanding Kailh switches and actually transforming them into something tailored to your hands and ears. Whether you’re performing your first spring swap or systematically dialing in your preferred acoustic profile, the following guides provide concrete steps you can execute today with minimal tools and experience.
Step-by-Step Spring Swap Tutorial
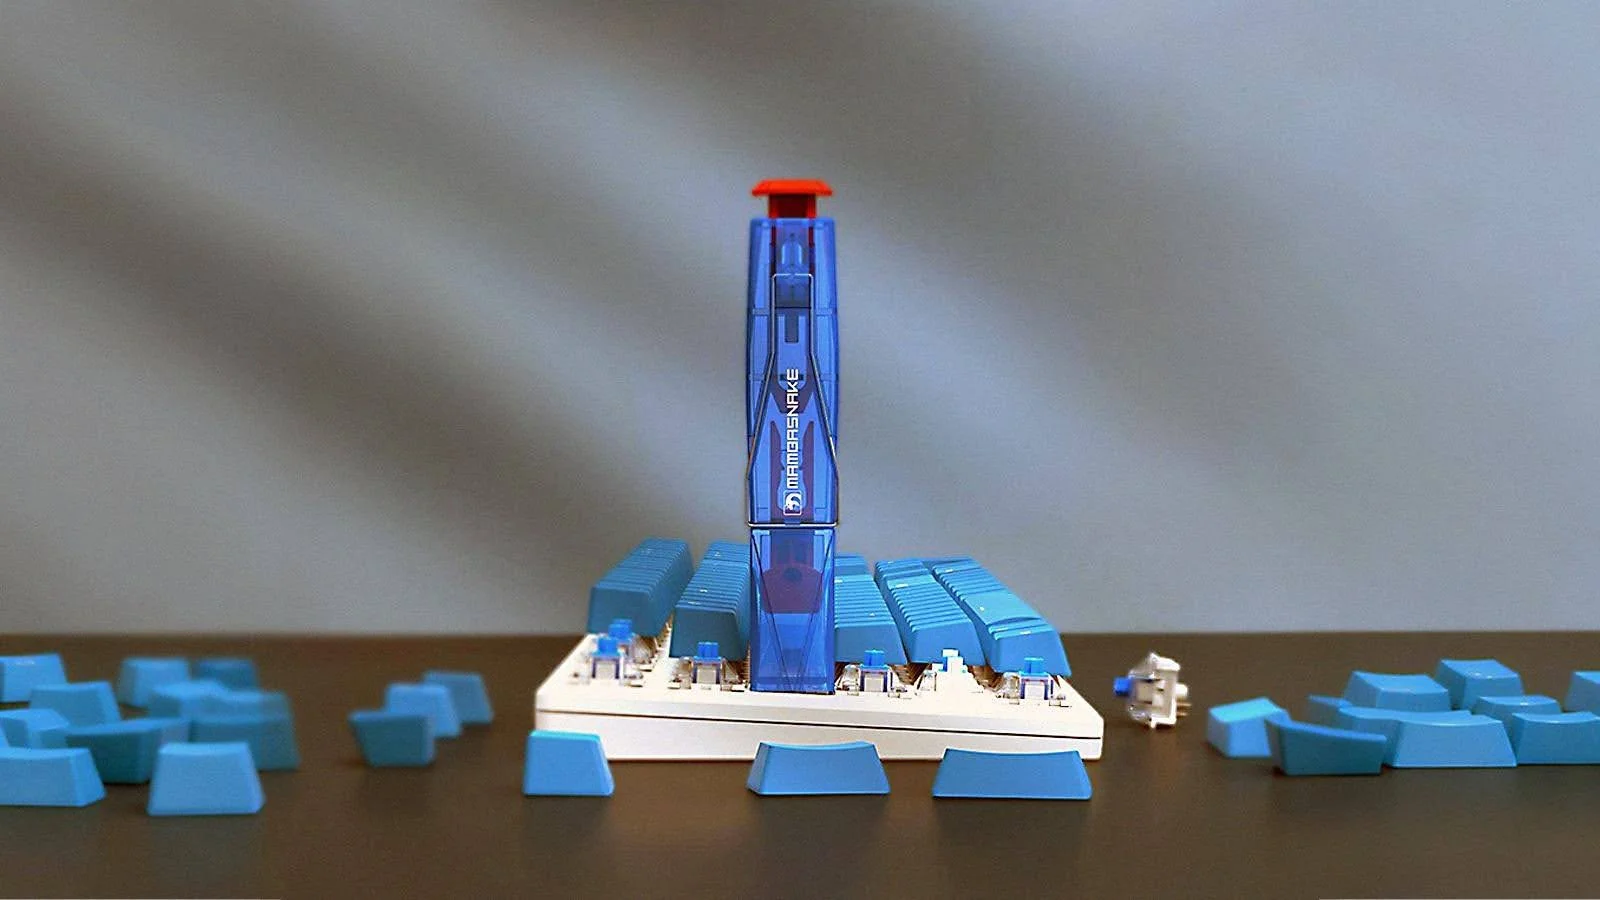
Start by removing your keycaps and extracting the switches from your board—hot-swap PCBs like those found on keyboards from brands such as MAMBASNAKE allow direct pull-out, while soldered boards require desoldering. Place your switch in the opener and separate the top housing from the bottom, then lift out the stem and spring together. Note the spring’s orientation before removing it. Drop your replacement spring into the bottom housing with the larger coil end seated flat against the base. Replace the stem, ensuring the legs align with the housing rails, then snap the top housing back into place. Press firmly until you hear or feel the clips engage. Test the switch by pressing it several times before reinstalling—check for any spring crunch or binding that indicates misalignment. Common pitfalls include inserting the spring upside down, which causes inconsistent force curves, and forgetting to check that the stem’s contact leaf sits properly after reassembly. Work in batches of ten switches to maintain consistency, and always keep a stock spring aside for comparison testing.
Determining Your Ideal Sound Level
Begin by assembling a small test group of switches representing different sound profiles—one clicky, one standard linear, and one silent variant. Install each type in a few keys of your board and type normally for at least thirty minutes per set, paying attention to how the sound affects your focus and mood. Test during different scenarios: quiet morning work, afternoon calls, and evening gaming. Record short audio clips with your phone placed at arm’s length, then play them back to hear what others around you experience. If a switch sounds pleasant to you but the recording reveals harsh peaks, consider targeted dampening rather than a full switch change. Rate each test on a simple scale of volume and pleasantness, then cross-reference with your environment—open office, shared apartment, or private room. This methodical approach removes guesswork and connects your sound preference directly to real conditions rather than abstract descriptions.
From Comparison to Customization: Your Path Forward
Building a keyboard that feels and sounds exactly right isn’t about finding one perfect product off the shelf—it’s about understanding the variables at play and adjusting them deliberately. This Kailh switches comparison has mapped the landscape from smooth linears to sharp tactiles and bold clickies, showing how each category serves different hands and workflows. Spring swaps emerge as one of the most powerful yet accessible modifications, letting you reshape actuation force without abandoning a switch’s core character. Key feel responds to layered adjustments—lubrication, films, keycap weight—each one refining the sensation beneath your fingers incrementally. Sound preference, meanwhile, demands honest self-assessment tied to your actual environment rather than idealized listening conditions.
The practical techniques outlined here require minimal tools and carry almost no risk since every modification is reversible. Start with a single change, live with it, then decide what comes next. Your mechanical keyboard setup will evolve as your preferences sharpen, and that ongoing process of discovery is what makes this hobby endlessly rewarding. The perfect keyboard isn’t a destination—it’s a reflection of who you are as a typist today, always open to tomorrow’s refinement.

How Glass Manufacturing Facilities Manage Extreme Heat

Shop Tools That Make Precision Machining Less Complicated

How Digital Business Solutions Drive Modern Brand Growth: The Ultimate Guide